Seed Sowing for the Dye Garden

Continuing our journey through the year in the dye garden, we finally pass the equinox and can begin to think about sowing. All those seeds we have lovingly collected in the autumn and sorted out on those long winter evenings can finally release their potential!
There are a variety of plant types that can yield colour, but in the dye garden I tend to focus on the annuals- those plants that complete their life cycle from seed, to flower to death in one year. These are easy to grow and give an abundance of flowers.
I’m going to share with you the process of sowing, growing on and planting out of one of my favourite dye plants- Coreopsis tinctoria, but this method works equally well with others such as cosmos, scabious and Hopi sunflowers.
The only exception is the Japanese Indigo seeds where a soak overnight in water before sowing really helps germination.
Sowing
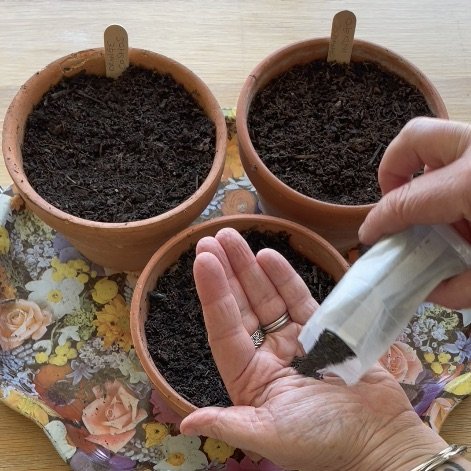
Fill your pots almost full with a good quality peat free compost. I love to use my old collection of terracotta pots, but you can equally use old plastic flower pots or recycled margarine/ yoghurt pots with holes in the bottom. Carefully sprinkle on your seeds spreading them evenly over the surface. Just a pinch should give you plenty of plants!

Cover your seeds
The seeds need to be covered in compost to keep them moist and dark as they germinate. It’s really important that the soil is not too thick and should only be 2-3 times the size of the seed in depth. A small seed such as Coreopsis only needs a thin sprinkle of compost.
Pop a label in to remember which is which. Next give them a water with a fine sprinkle from the hose or watering can and allow to drain through. If you have a propagator that is ideal- but I find putting an old plastic bag such as a bread bag over the pot to keep in moisture works just fine. The best spot for them is somewhere warm, light but out of direct sunlight.
If you are anything like me it will be irresistible to keep checking them for germination! Depending on the temperature you should see some life after about a week or two. Once they are growing away remove the bag and let the seedlings grow on for a bit- at least until they start to form real leaves.
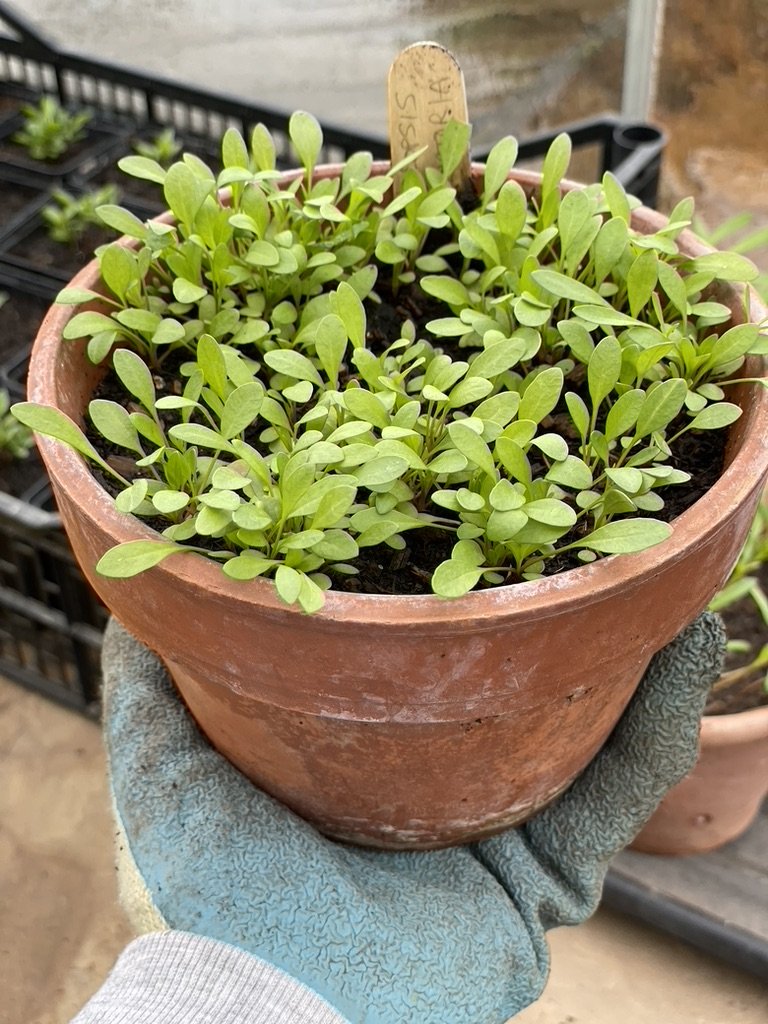
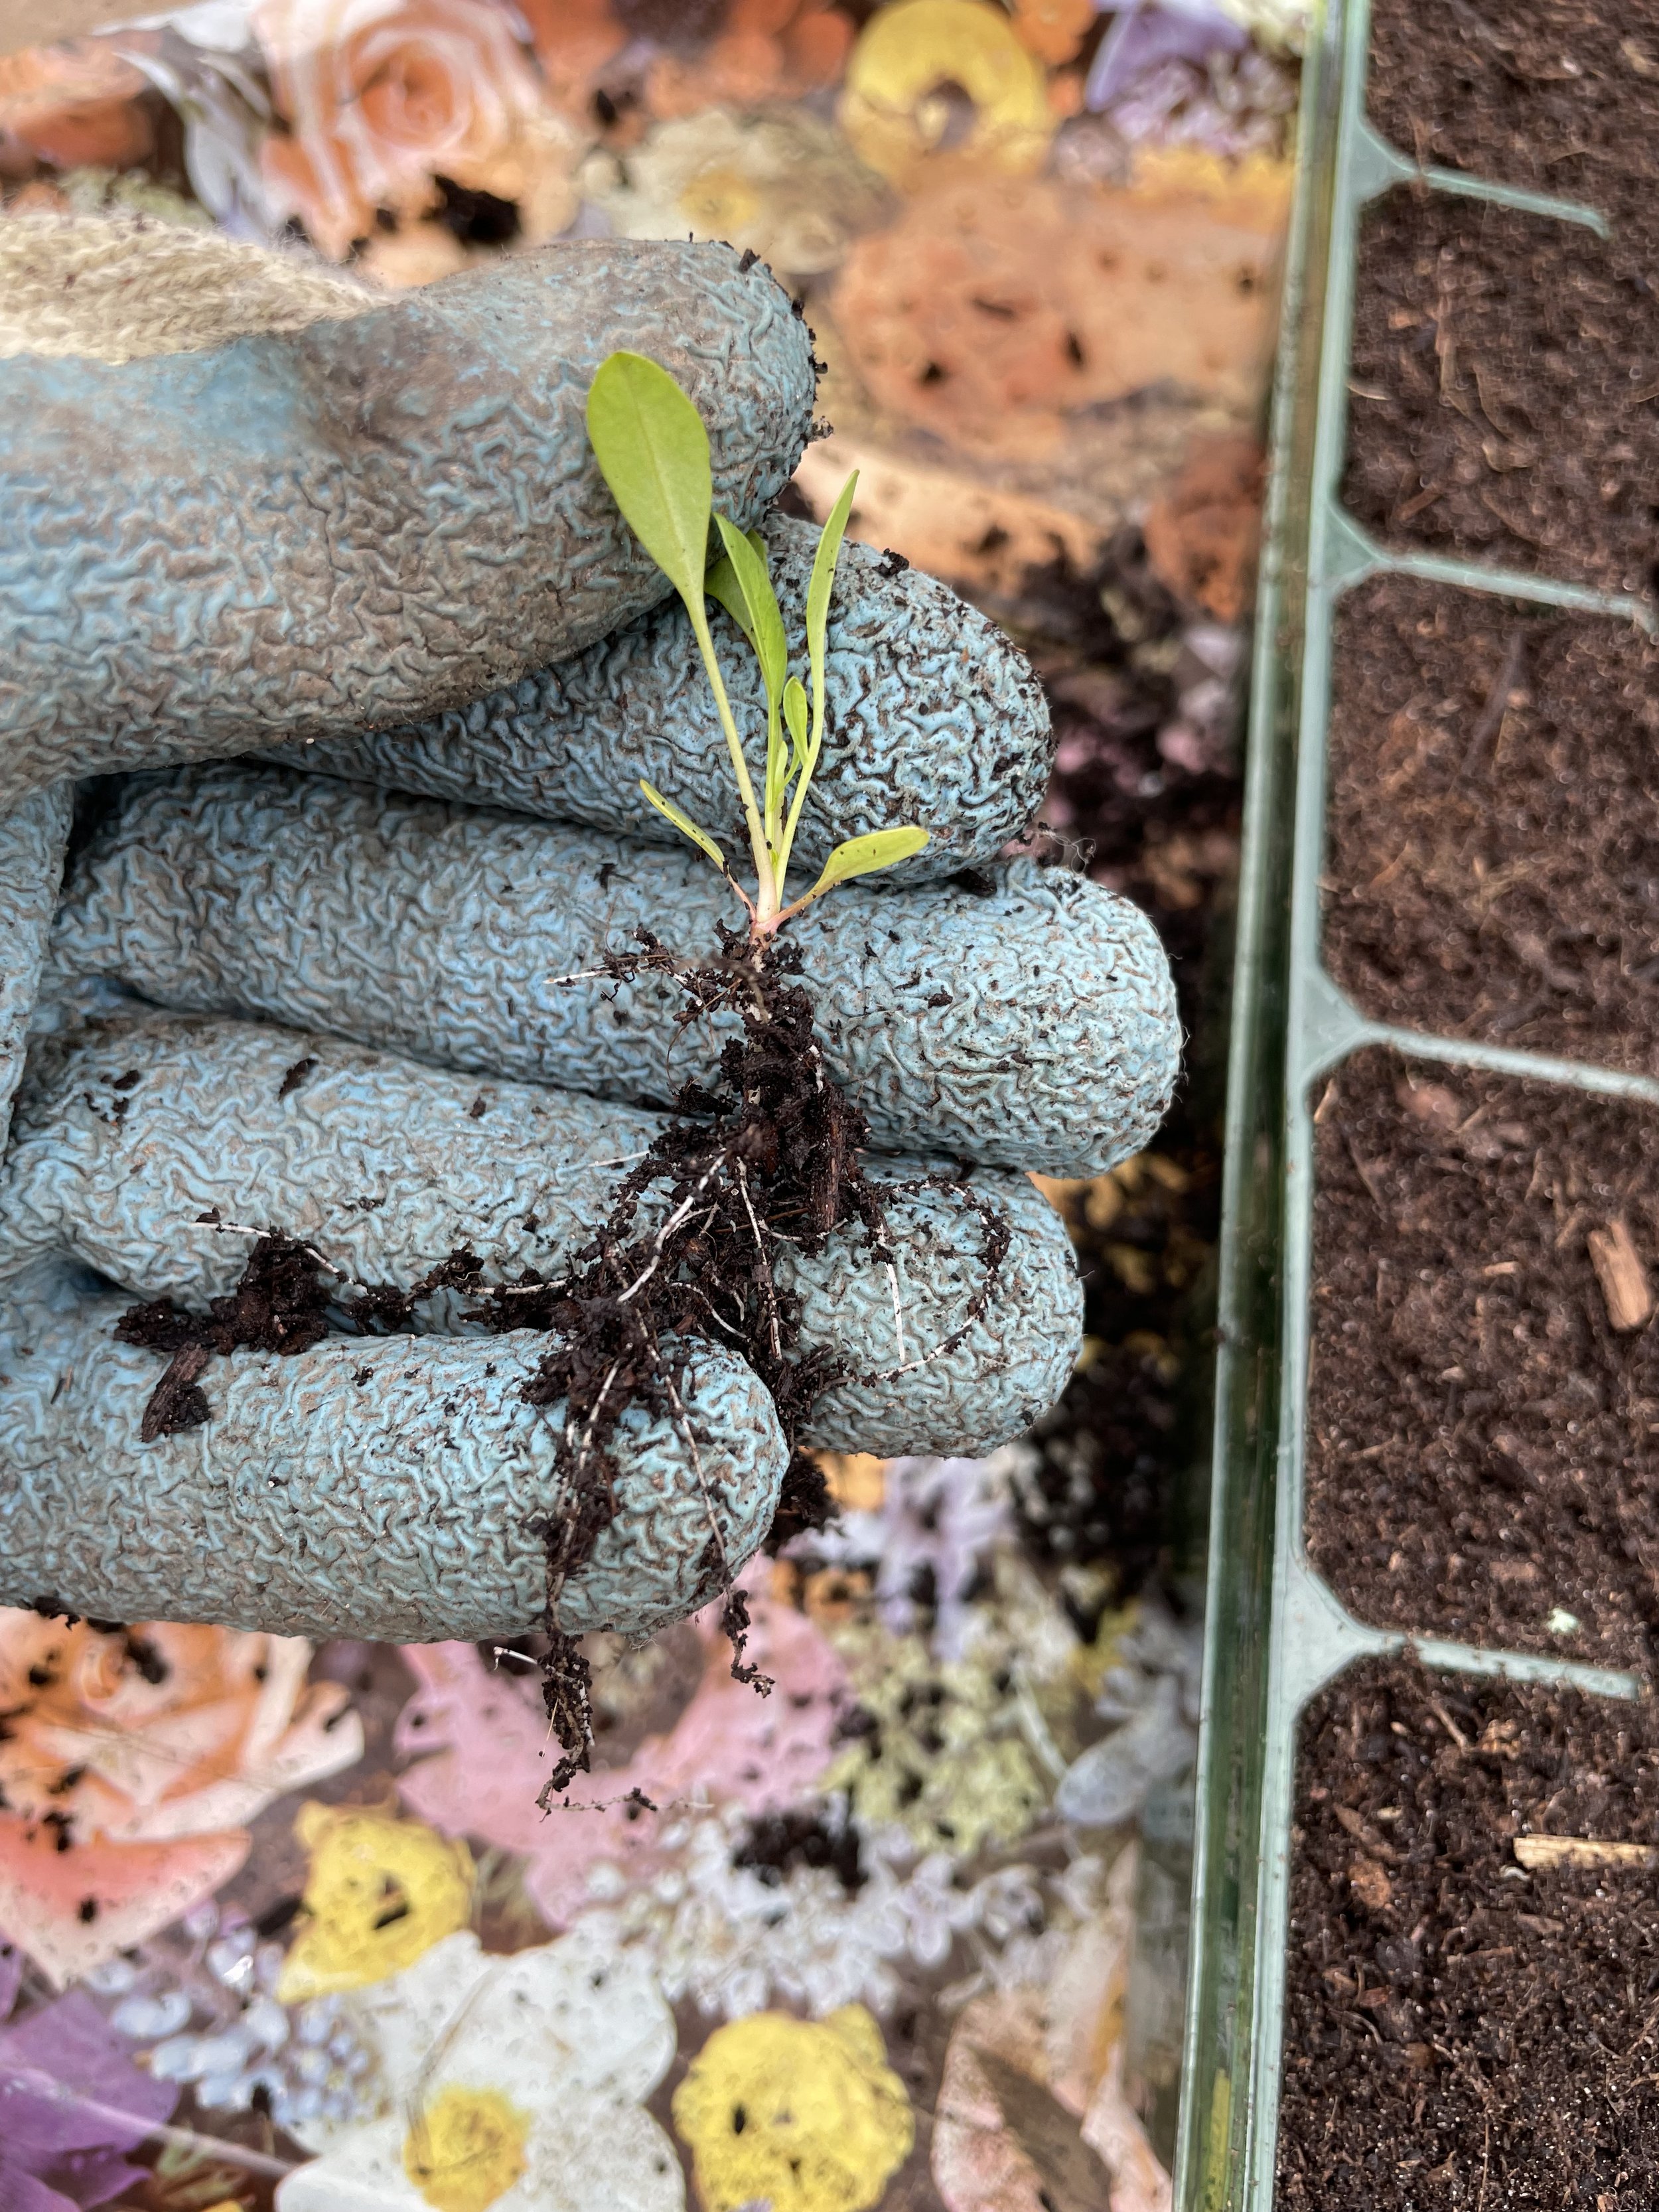
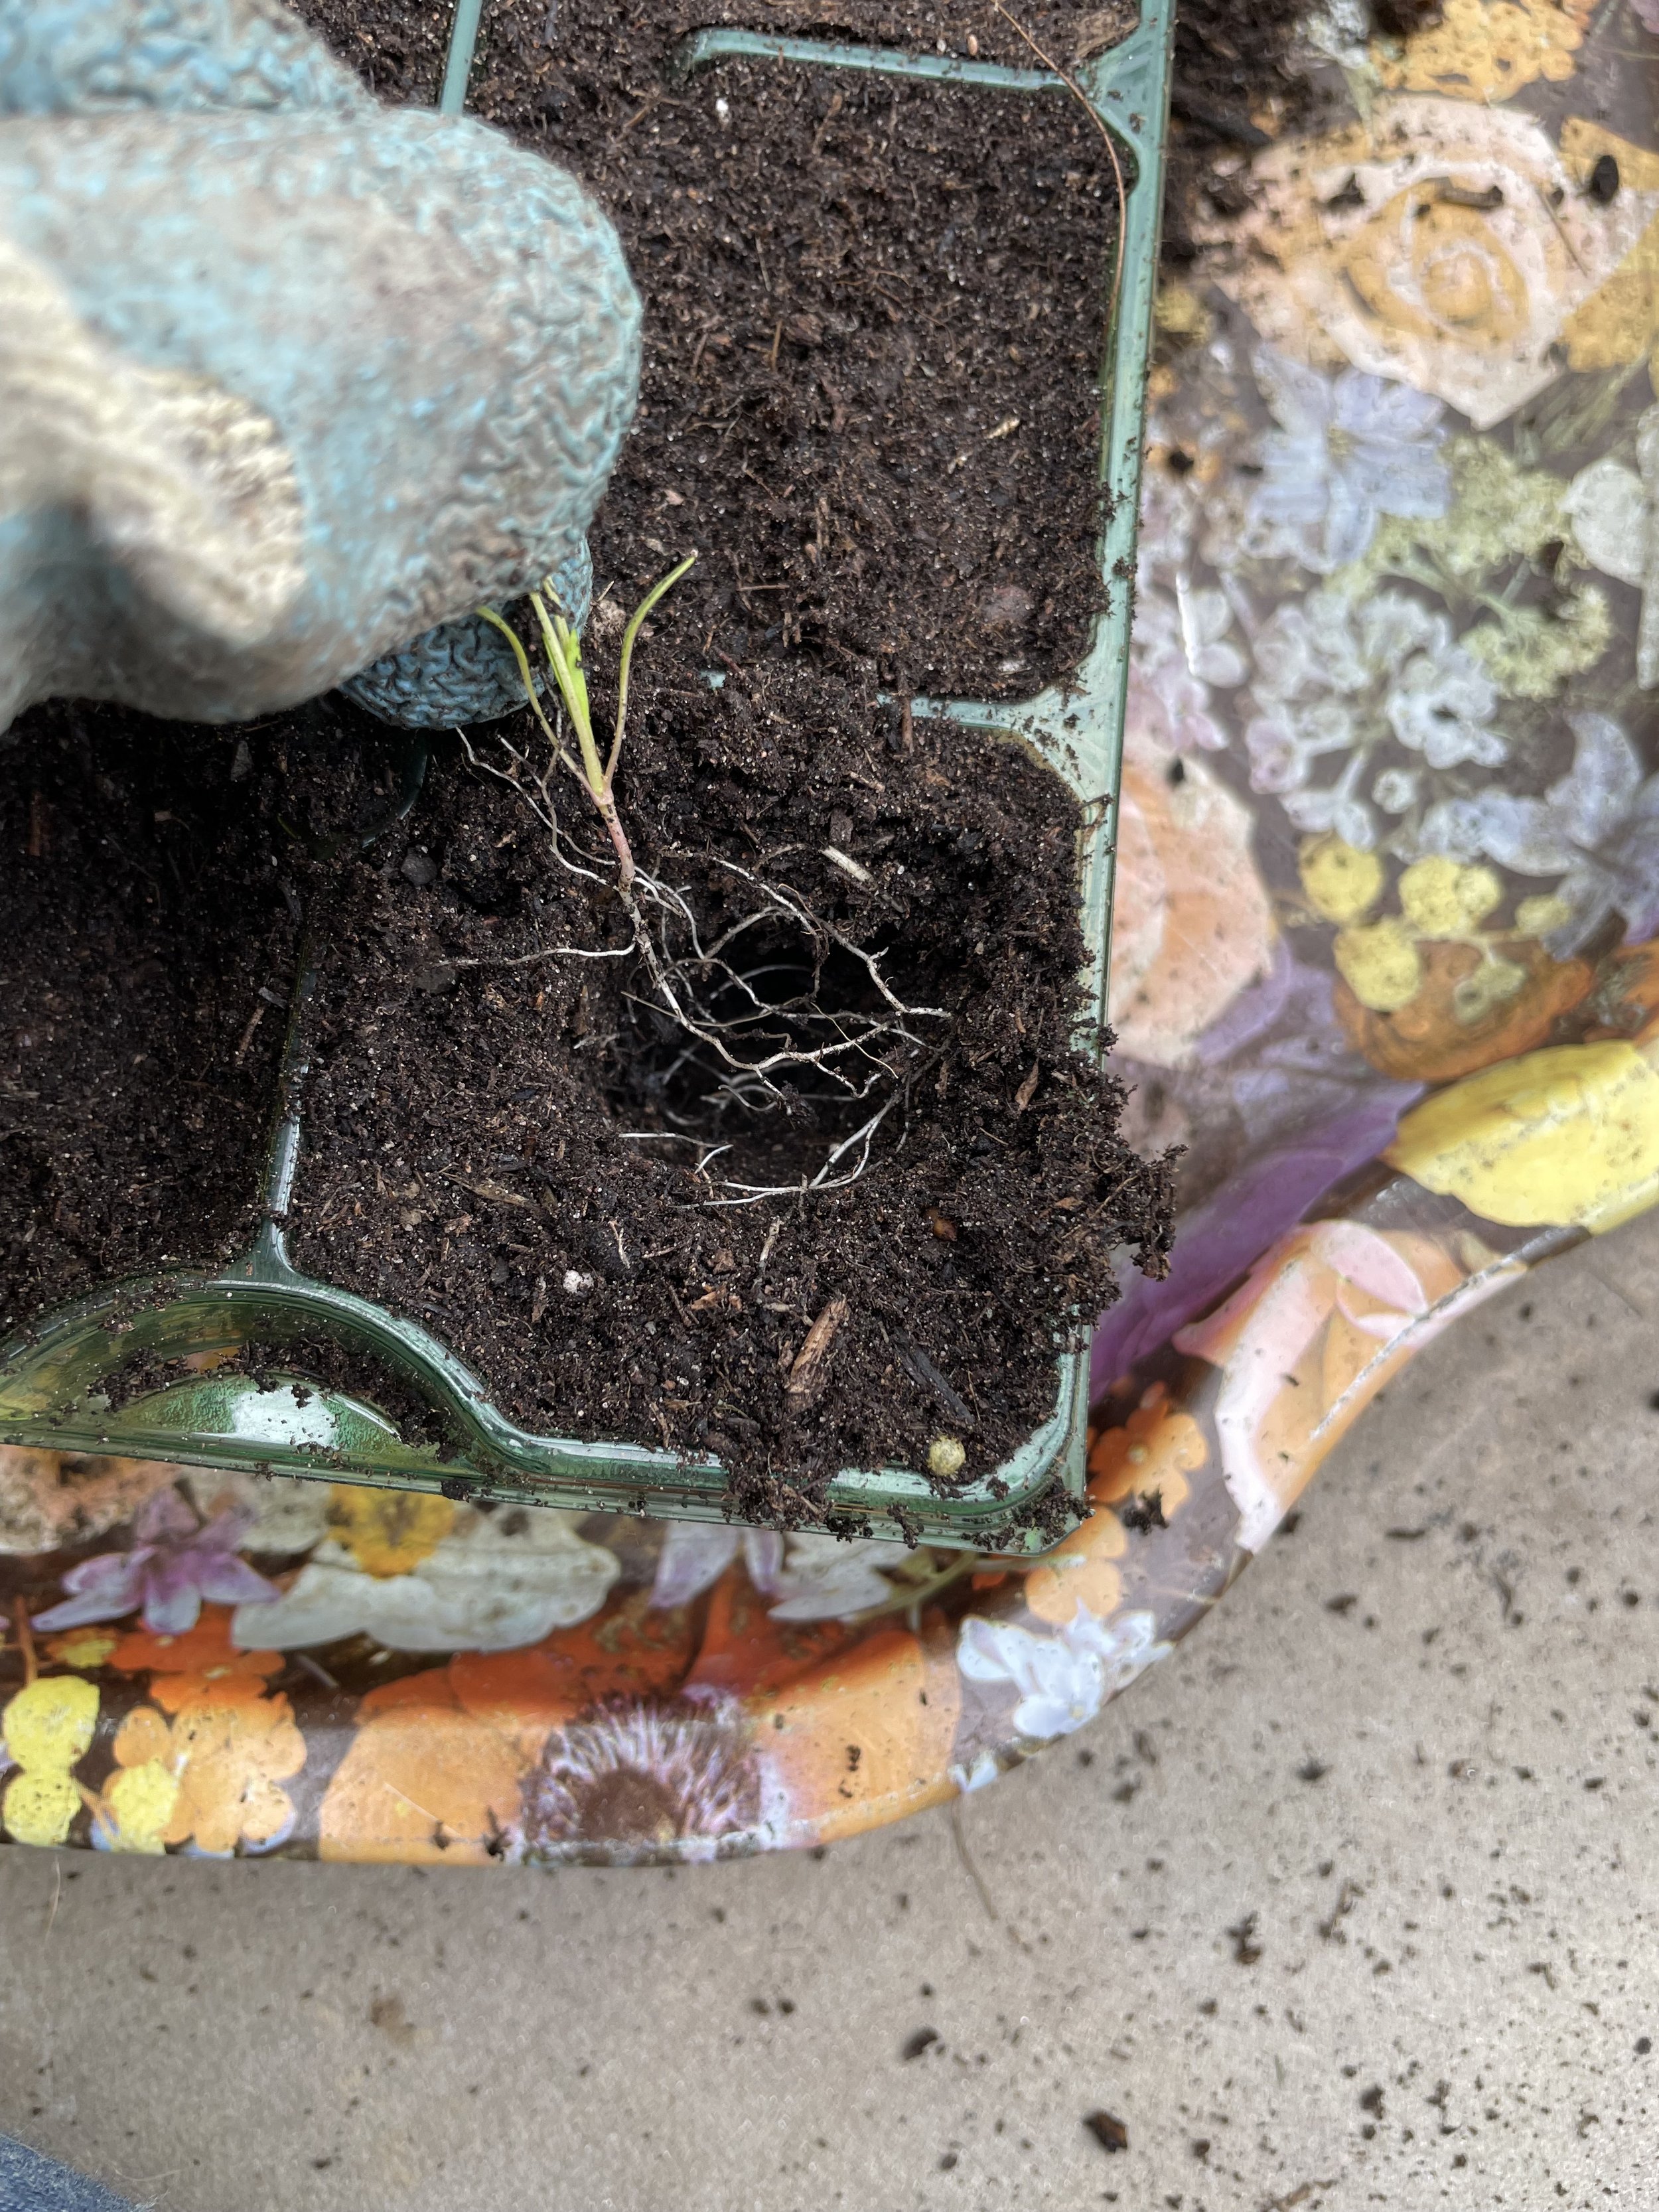
Pricking Out
This is the process by which all your lovely seedlings can be separated and grown on as individual plants. These are baby Coreopsis that have been growing for a couple of weeks.
Carefully tip out the pot and prize apart the seedlings. Lift them carefully by the leaves and plant them into a cell tray or their own little pots. Water them well again.
These can be grown on again in a sheltered spot- a greenhouse, conservatory, cold frame or cool windowsill.
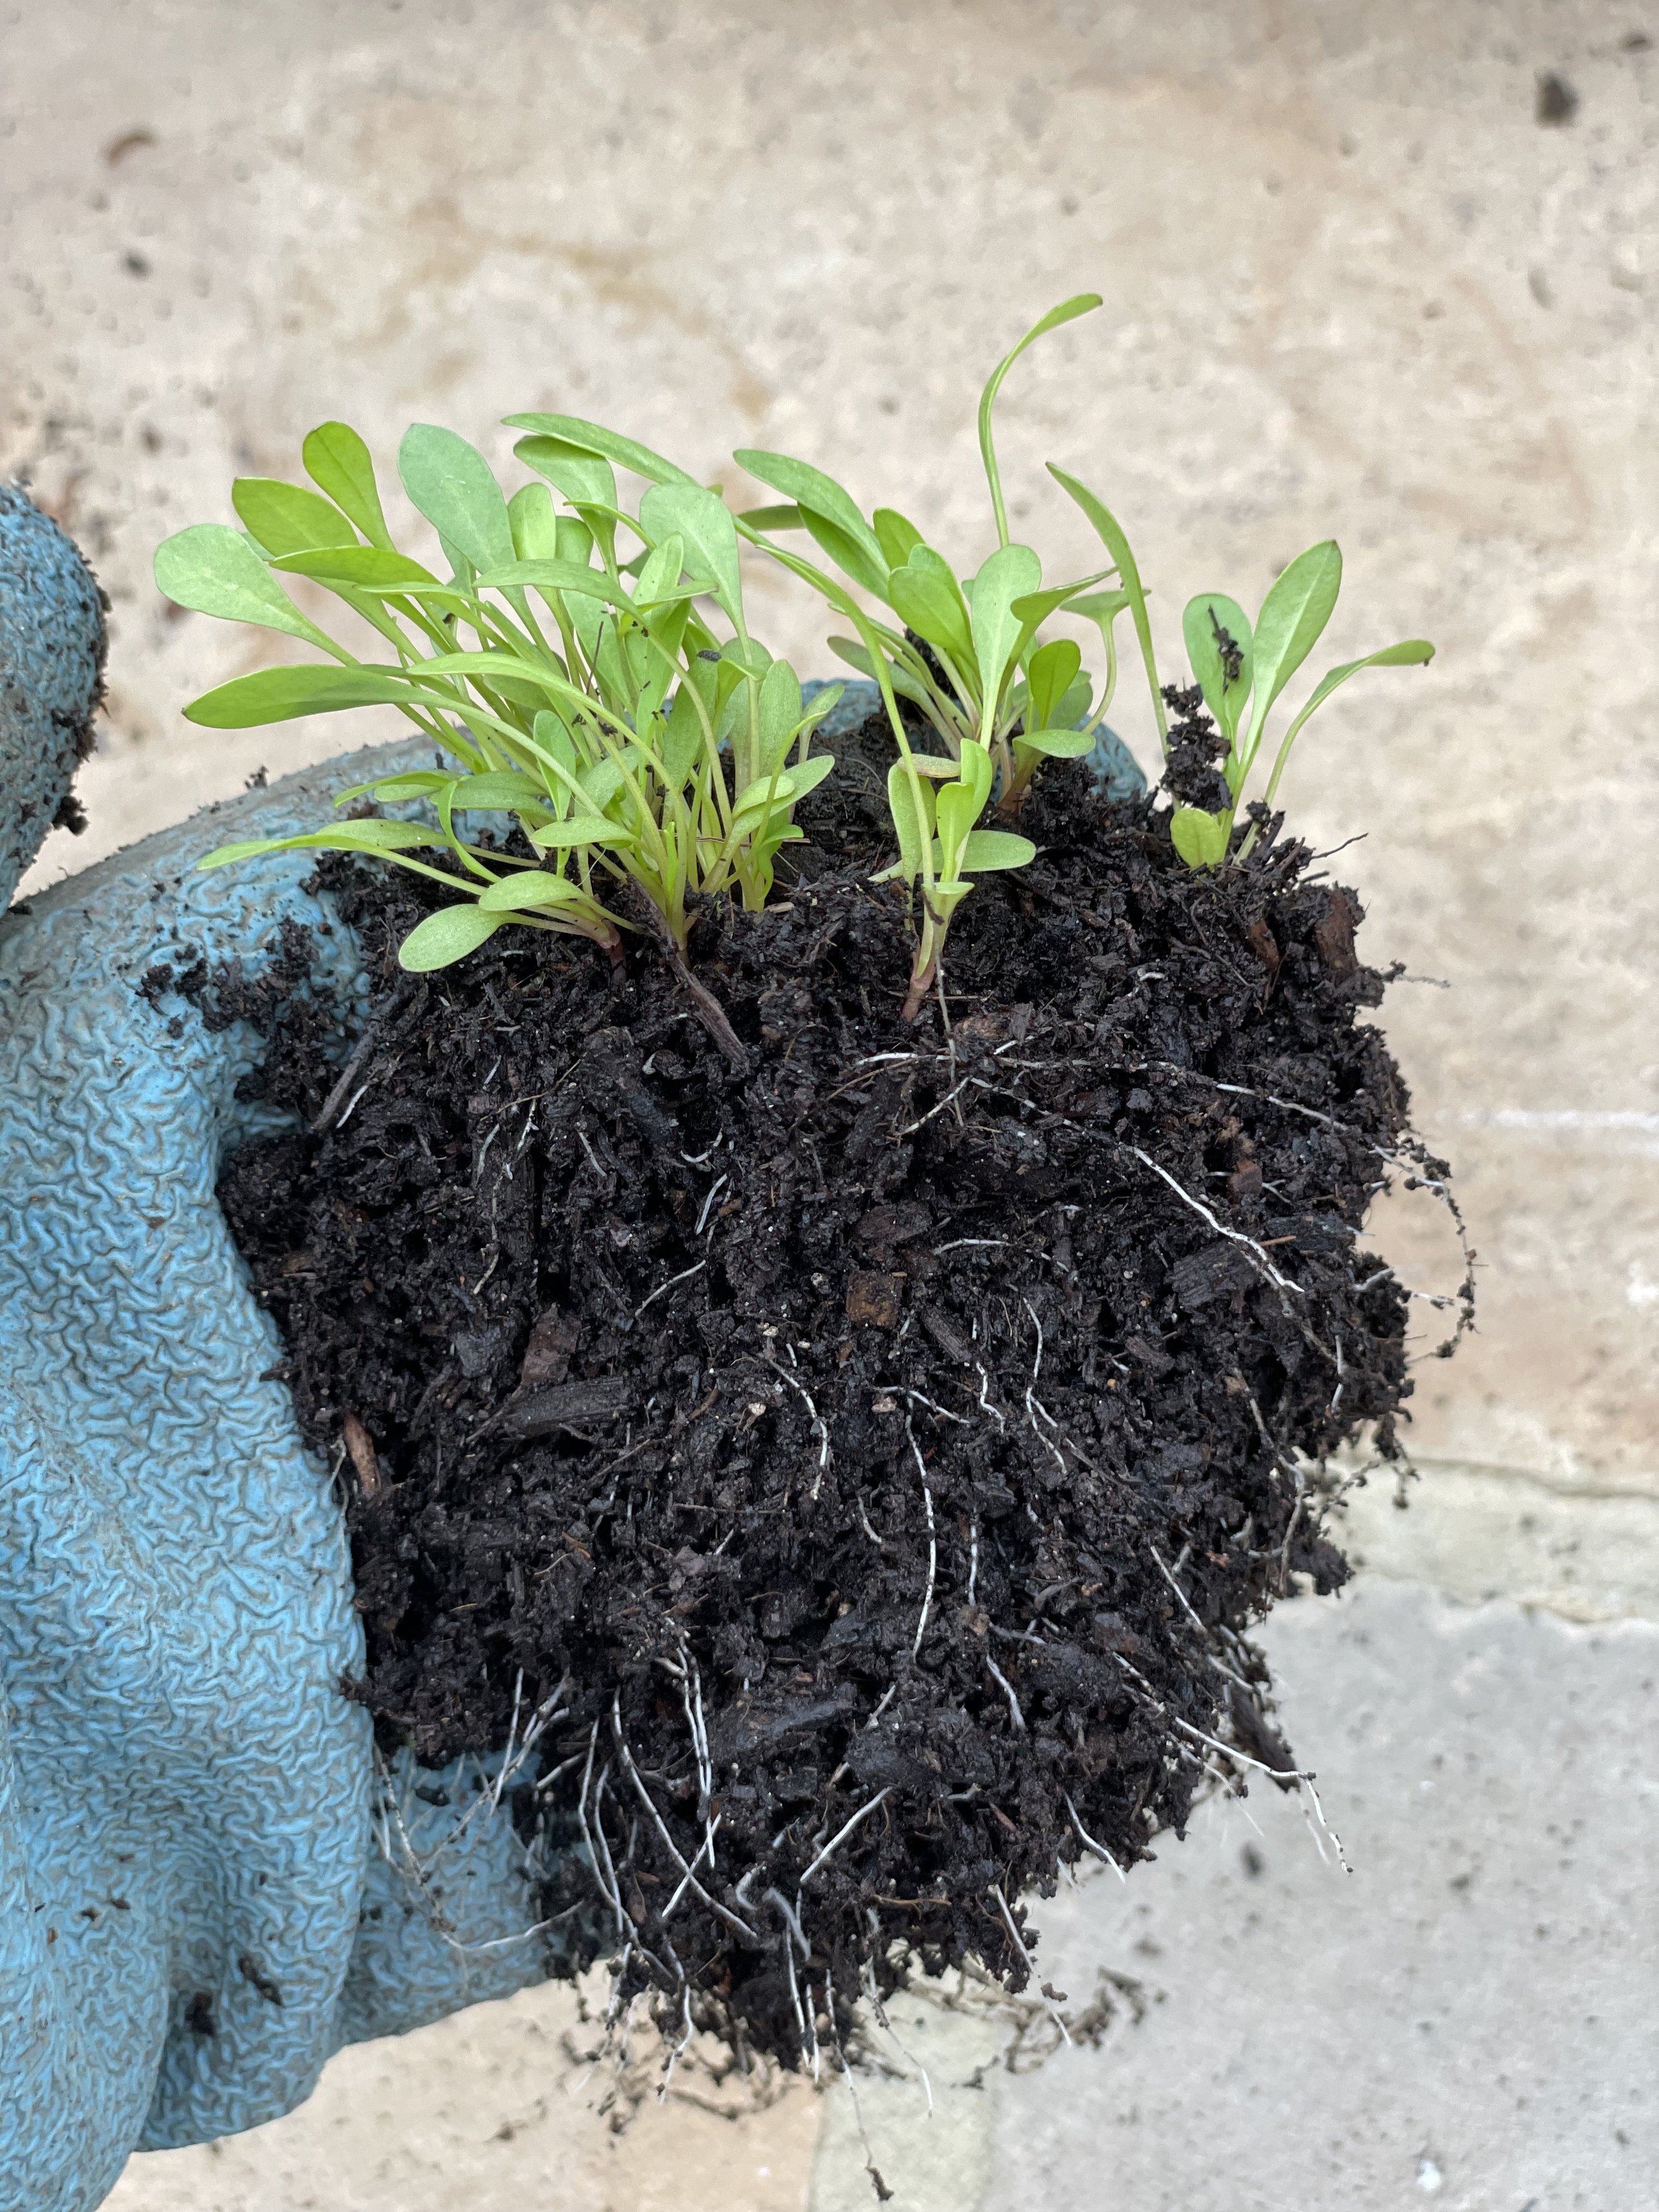
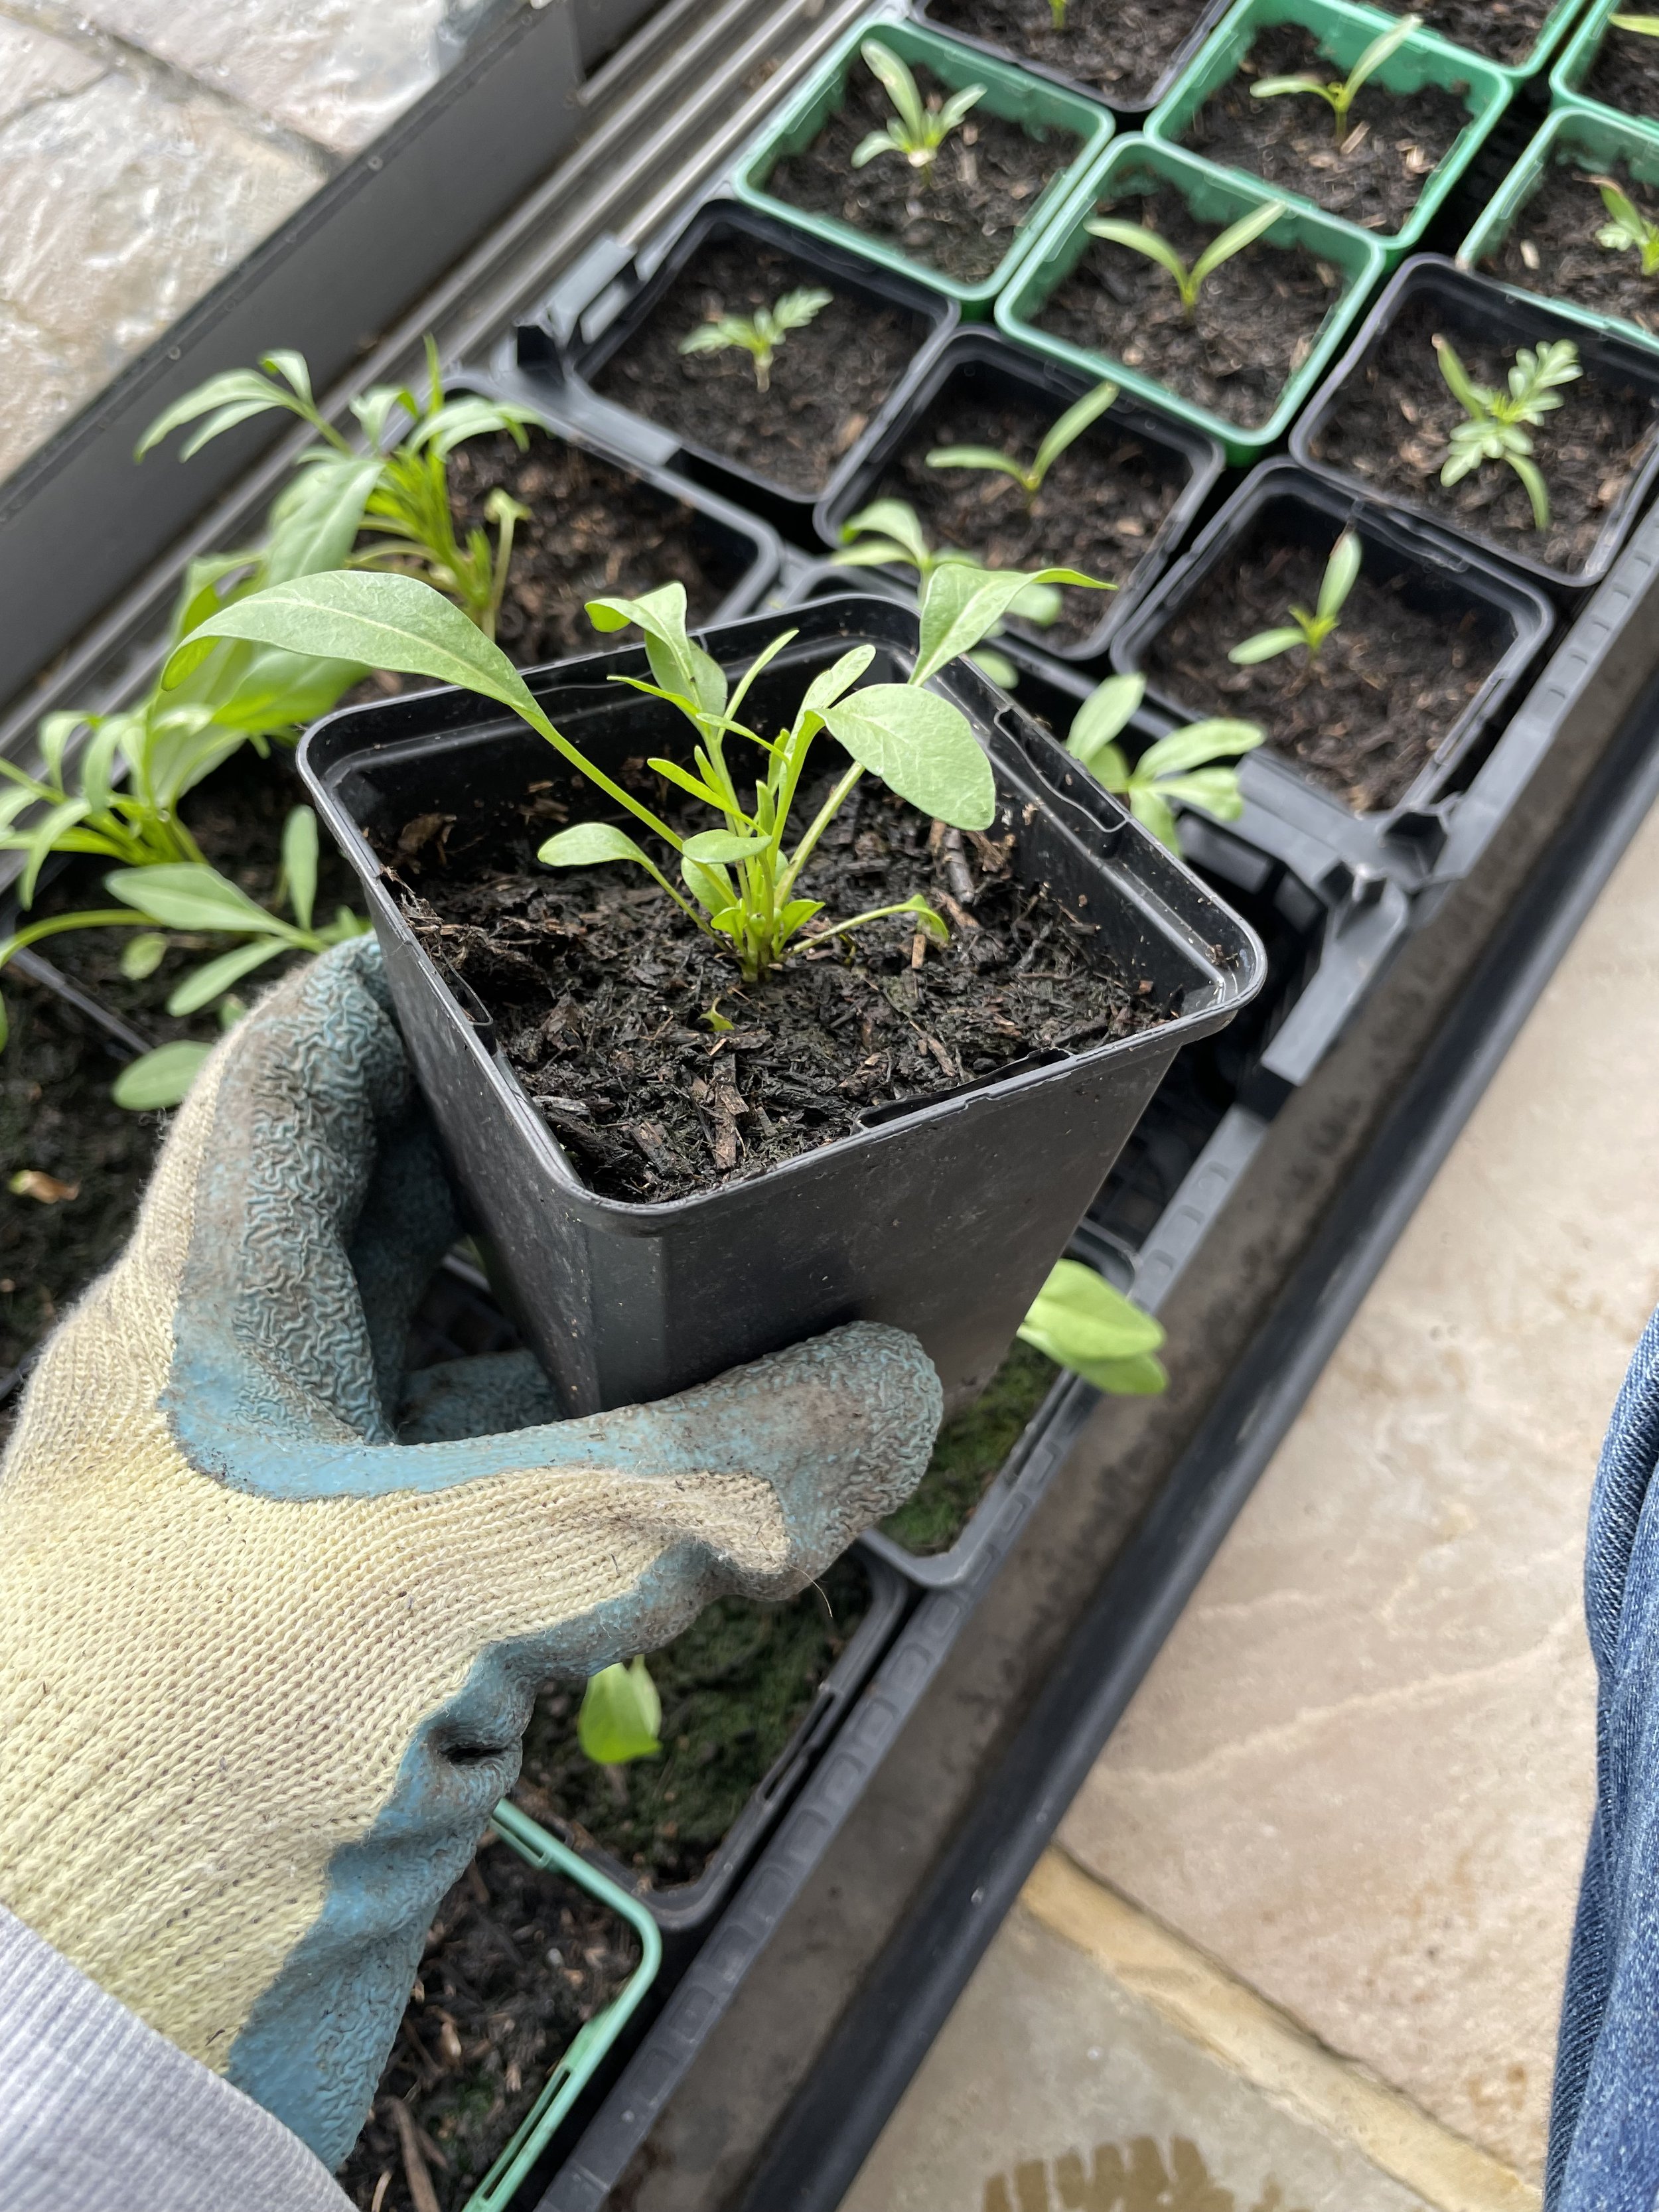
I like to grow on these little ones until they are established in the pots and a few roots are starting to poke out of the bottom. It totally depends on the season though and as this spring has been particularly cold and dismal I have kept them inside for that little bit longer before planting out. If you are lucky enough to have a warm spring- plant them out!
Most of these annuals like a nice sunny spot with a good soil that is not too rich. Allow enough room for them to grow, water and if you can give them a mulch.

Planting out- these were kept inside longer as this spring has been cold- they can be planted smaller than this if the weather allows!
There is nothing more exciting than having your dye garden planted up and ready to grow. As the season warms you can direct sow some seeds into the ground to prolong the season and give later flowers into the autumn.

I sell my own collected dye garden seed on my website so do have a look if you would like to buy some and have a go at growing your own colour.
Happy Gardening!